Looking for a simple way to gift yourself with some self-care? These lavender and cocoa butter bath melts will leave your skin feeling silky smooth while also providing you with aromatherapy benefits. Double a batch and gift some to a friend so they can enjoy these, too!
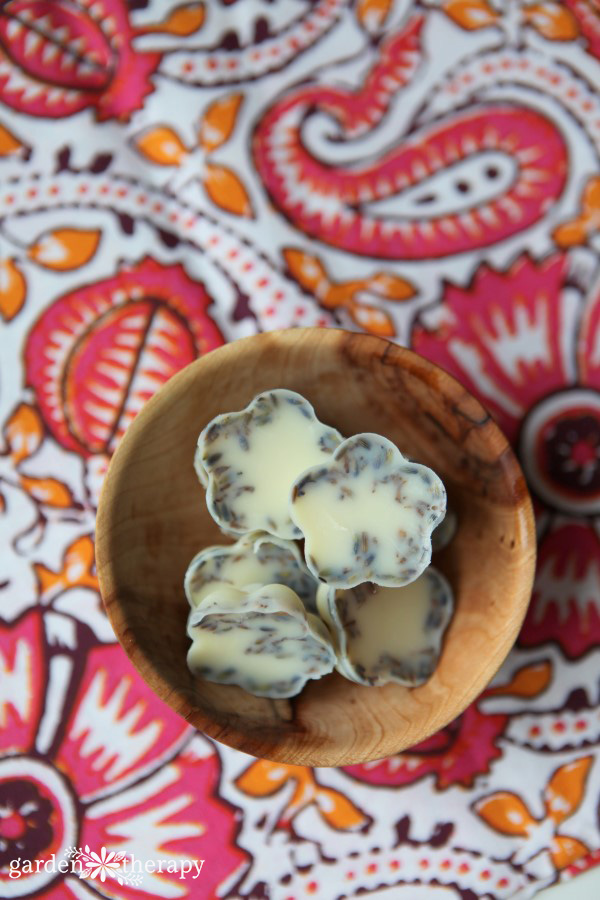
Add a little luxury to the bath with these moisturizing cocoa butter bath melts. They are made with ingredients so natural that you could eat them, and you might just want to!
The aroma of cocoa, coconut, and lavender makes my mouth water for what is essentially a gourmet truffle. These truffles, however, are best used in the bath, as the silky soft oils melt in the warm water and soak into your skin, leaving it moisturized and soft.
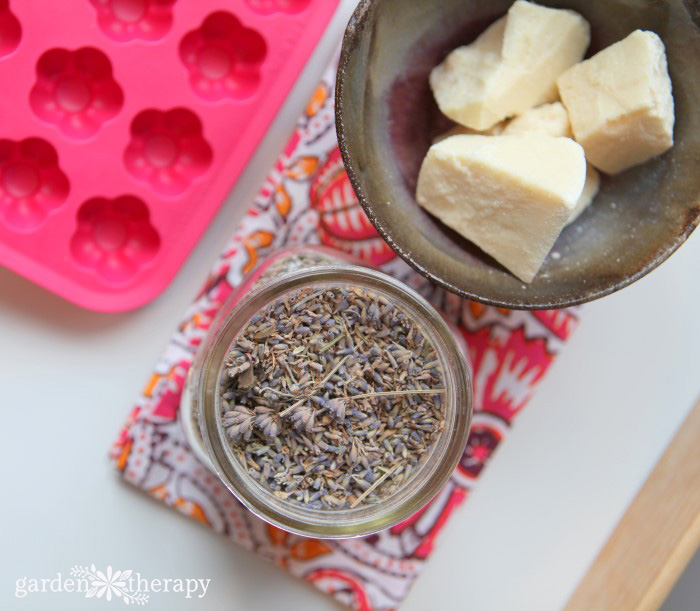
It’s quite easy to make a batch of bath melts, and it only requires a few key ingredients. So let me show you how!
What are Bath Melts?
After a long day, I like to take some time for myself and give my body a break. A bath is a time for self-love and relaxation, soothing aching and tired muscles. I never have one without adding a little bit of something extra.
I have found myself reaching for bath melts more in the winter months as my skin gets dry. Bath melts are a luxurious way to moisturize skin and keep it soft. Made of moisturizing body butters, you pop one in the bath and watch them melt into the water. Then, your skin soaks up the oils from the butters and softens, allowing you to sit and relax in the aromatherapy provided by lavender.
I like to use a bath melt when I think my skin needs some extra love and attention. For dry and overworked skin, you can skip taking the time to lotion up your body after the bath. You get two for one with a bath melt!
Why Cocoa Butter is Your Skin’s Best Friend
Cocoa butter is the edible fat extracted from the cocoa bean and the main ingredient in chocolate. In fact, the flavour and aroma of chocolate come from cocoa butter, and true chocolate can only be called by that name if it contains 100% rich, smooth cocoa butter.
While used to make tasty desserts, cocoa butter is also a prominent ingredient in skin care. It is also full of antioxidants and is so good at moisturizing skin that it is very often used in skincare products.
High in fatty acids, it helps to nourish the skin and improve elasticity. The fats create a protective barrier over the skin, helping to really lock in that moisture. Some people have also used cocoa butter to help smooth scars, wrinkles, and stretch marks.
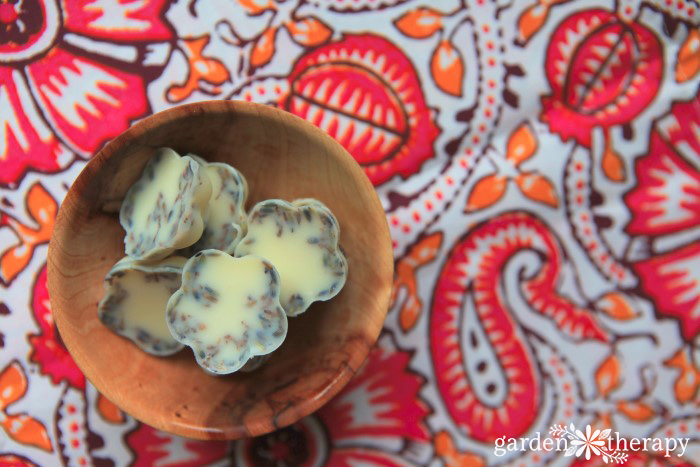
When my skin is feeling dry, these bath melts are the first thing I reach for. At room temperature, it is solid, but as you add it to a hot bath, it melts, and the oil disperses into the water and absorbs into your skin while you soak.
What About the Lavender and Coconut Oil?
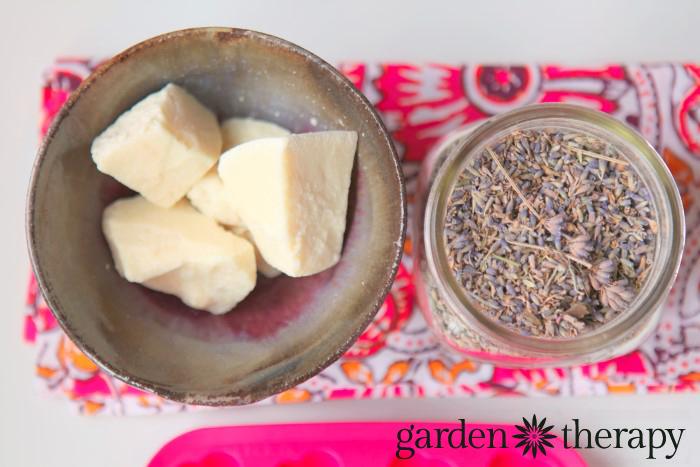
The other half of the moisturizing duo of these bath melts is coconut oil! Coconut oil is made by extracting oil from raw coconuts or coconut kernels. Super rich in saturated fats, it is known to help improve dry skin’s overall moisture content and can help reduce eczema symptoms.
The fatty acids also have antimicrobial properties, which makes them safe for skin infections like athlete’s foot, acne, cellulitis, and other bacterial infections.
While super moisturizing, there are also some aromatherapy benefits to these bath melts as well. Lavender has always been a favourite with me when it comes to bath time. It is the perfect relaxation herb, promoting calmness, easing stress, and providing anxiety relief. If you like to bathe before bed, lavender has always worked as a wonderful way to ease me into a sleepy mood.
All together, cocoa butter, coconut oil, and lavender create the perfect combination for a relaxing hydrating bath melt.
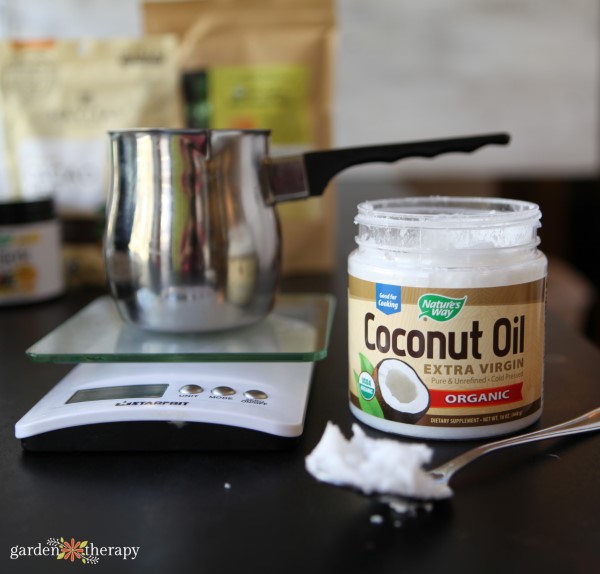
How to Make Bath Melts
If you are looking for a way to inject a little more self-care into your routine or know of someone who could use some pampering, then make up a batch of these luxurious bath melts and turn a hot bath into a heavenly treat.
Materials
See recipe card below for exact measurements.
Make It!
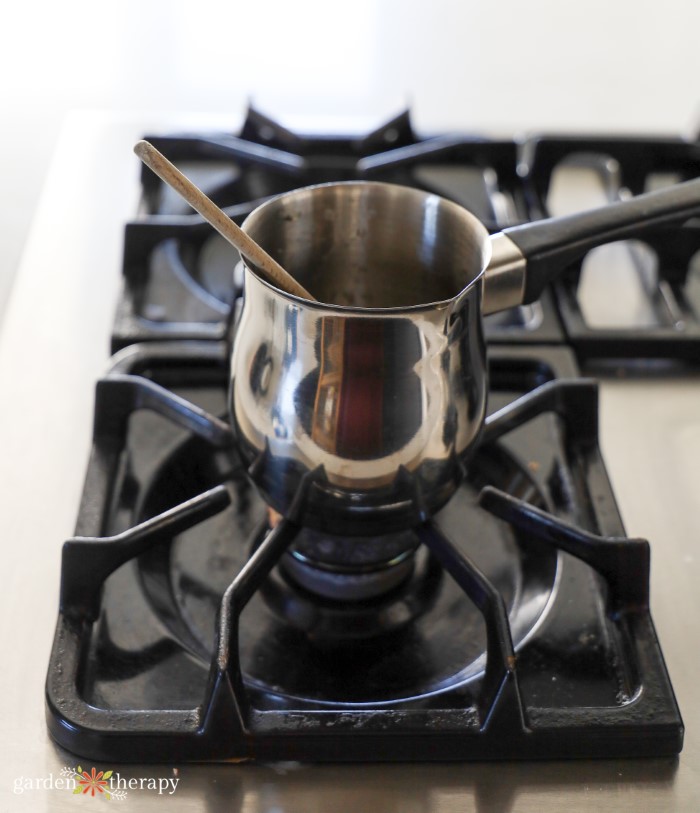
Melt the oils in the small pot over medium-low heat. Stir constantly and keep a watchful eye on the oils. You want them to just reach the melting point and not overheat.
When the oils have melted and combined, add the essential oils and stir well.
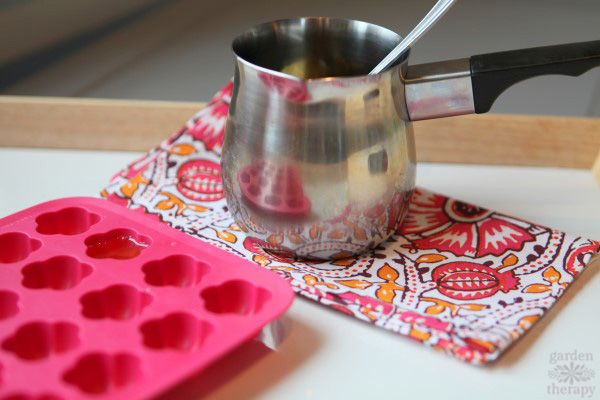
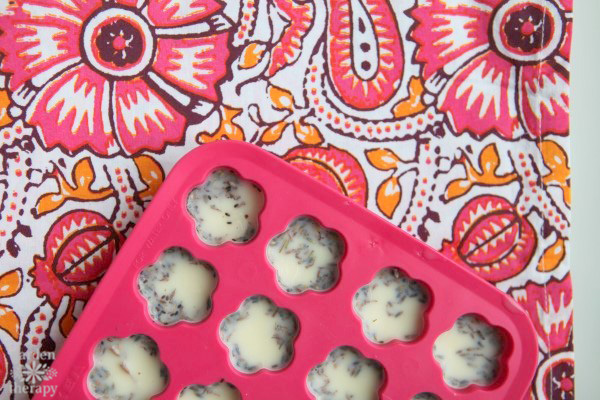
Immediately pour into silicone molds. I used a silicone ice cube tray, but a candy mold will also work. A small pot with a pour spout makes this job a lot easier.
I use this Turkish coffee pot for all of my natural skincare recipes because it is small but tall, has a long handle to keep your hands away from hot oils, and has a spout that makes pouring much easier.
Sprinkle dried lavender buds on top of the hot oil, dividing the tablespoon up evenly between the bath melts.
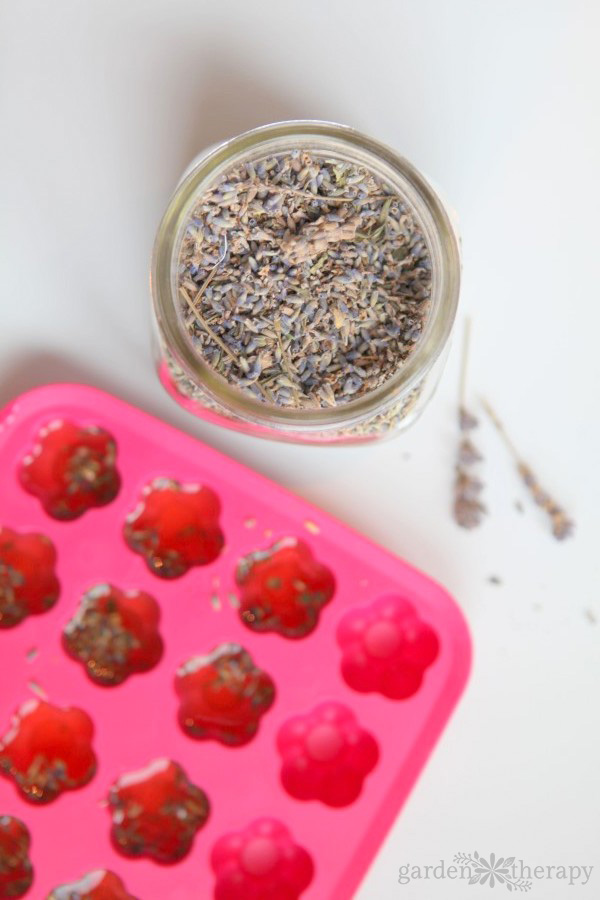
Move the silicone mold to the refrigerator to cool for two hours, and you’re done. Store the finished bath melts in the fridge or a cool place if your house is warm so that they don’t melt before you want to use them!
Pop one or two bath melts into a tub filled with hot water and soak for at least twenty minutes.
A word of caution: the oils will make your bathtub slippery after you drain it. Be careful when stepping out of the tub. After your soak, be sure to give it a quick clean and wipe so it’s safe and ready to go for the next person.
Bath Melt FAQ
You bet! I like to store mine in the fridge, but you can also store them in the freezer.
Lavender will often turn gray or brown when it dries. To prevent this, you want to make sure you’re harvesting the lavender at the right time; harvest before the buds flower, not once they’ve finished flowering. It’s also important to limit the dried buds’ exposure to sunlight, so store them in a dark cupboard or drawer. Finally, choose lavender varieties that are known to hold their colour, such as Purple Bouquet and Royal Purple.
You can try, but I have found that cocoa butter works best. It has a much nicer scent, has a better melting point, and feels lovely on the skin after a bath. Shea butter is heavier, stickier, and better applied directly to the skin.
For many, many more natural skincare recipes and gift ideas, check out The Natural Beauty Recipe Book!
More Skincare Recipes You’ll Love
Lavender and Cocoa Butter Bath Melts
Moisturize your skin with luxurious cocoa butter and soak in the aromatherapy of calming lavender during your next bath. This recipe makes 12 bath melts.
-
Melt the oils in the small pot over medium low heat. Stir constantly and keep a watchful eye on the oils. You want them to just reach the melting point and not overheat.
-
When the oils have melted and combined, add the essential oils and stir well.
-
Immediately pour into silicone molds. I used a silicone ice cube tray but a candy mold will also work. A small pot with a pour spout makes this job a lot easier. I use a Turkish coffee pot.
-
Sprinkle dried lavender buds on top of the hot oil, dividing the tablespoon up evenly between the bath melts.
-
Move the silicone mold to the refrigerator to cool for two hours, and you’re done. Store the finished bath melts in the fridge or a cool place if your house is warm so that they don’t melt before you want to use them!
-
Pop one or two bath melts into a tub filled with hot water and soak for at least twenty minutes.
-
The oils will make your bathtub slippery after you drain it. Be careful when stepping out of the tub. After your soak, be sure to give it a quick clean and wipe so it’s safe and ready to go for the next person.


